Okay so today is the first day of
5 ways to... it is our new series with cute and easy tutorials made either by us or our many hours prowling through the internet and best tutorials we can find. With tutorials, it is going to be either quick and simple with 5 steps or 5 different ways of doing something most of us do every day.
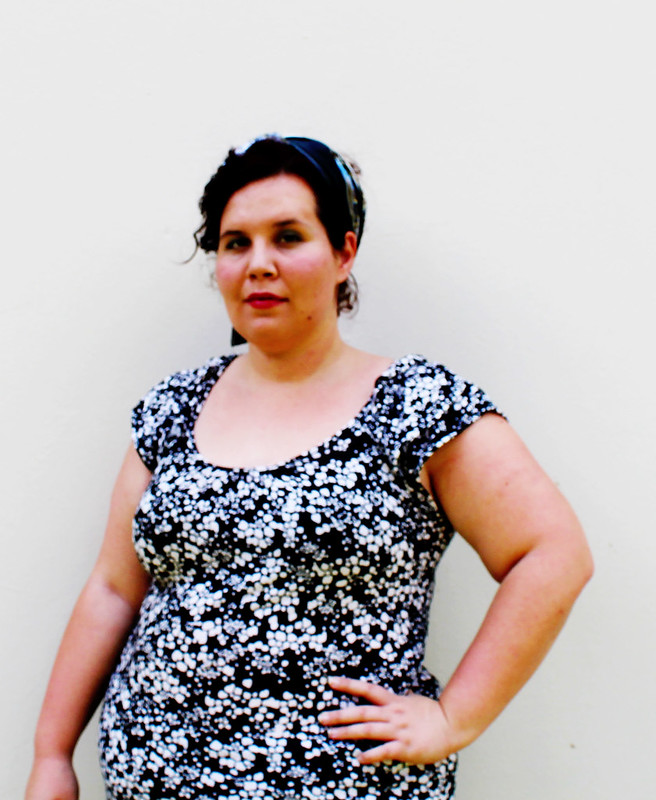
Clara and I wear scarves a lot, she wears them for slightly different reasons than I do but in the end we are both scarf obsessed and it is odd to see either of us not wearing a scarf at least once in a week so I figured why not share all the wonderful ways we like wearing our scarves with you.
What do you need to follow these tutorials?
- Square scarf preferably a smooth fabric such as silk, satin or very fine cotton.
- Normal scarf pashminas work wonderfully
- Superlong scarf
PinUp Hair scarf:
I love the pinup scarf look, it is a great way for me to get my curly bob under control when the weather is rainy and my hair just won't listen to anything that I say or want. I use a silk scarf because it helps smooth my hair and doesn't dry my hair the way cotton would.
Steps:
- Fold scarf in half then fold till it makes a funny sort of rectangle.
- Have the broadest part of the fabric at the back of your head, the ends facing forward.
- Tie into a knot
- Either tuck the ends back into the scarf or tie a bow if your scarf is long enough.
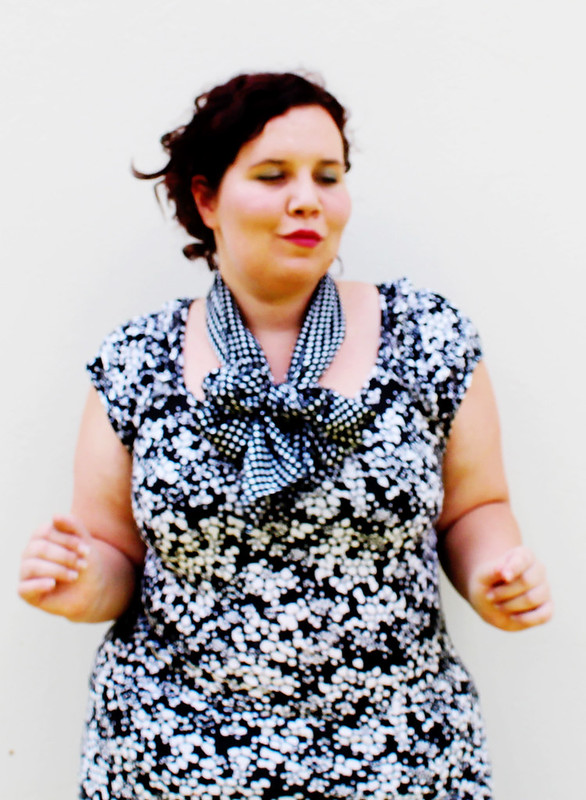
The Bow
Is there anything that makes one feel more like mini Mouse than a bow?
- Using your normal scarf, drape it around your neck with the ends hanging in front of you.
- Knot loosely more or less where you want the bow to end up (This takes practise to get the distance right).
- Carefully tie it into a bow, wither by knotting to loops together or by doing the bunny in a burrow method.
Too infinity:
Sometimes your favourite scarf really just needs to be infinite for a little while.
Steps:
- Tie the end of your scarf, again pashmina or shorter length works well.
- Knot the one end to the other end, either both ends directly to each other or just a corner of each end, this is personal taste.
- Be bold and wrap this around your neck a few times.
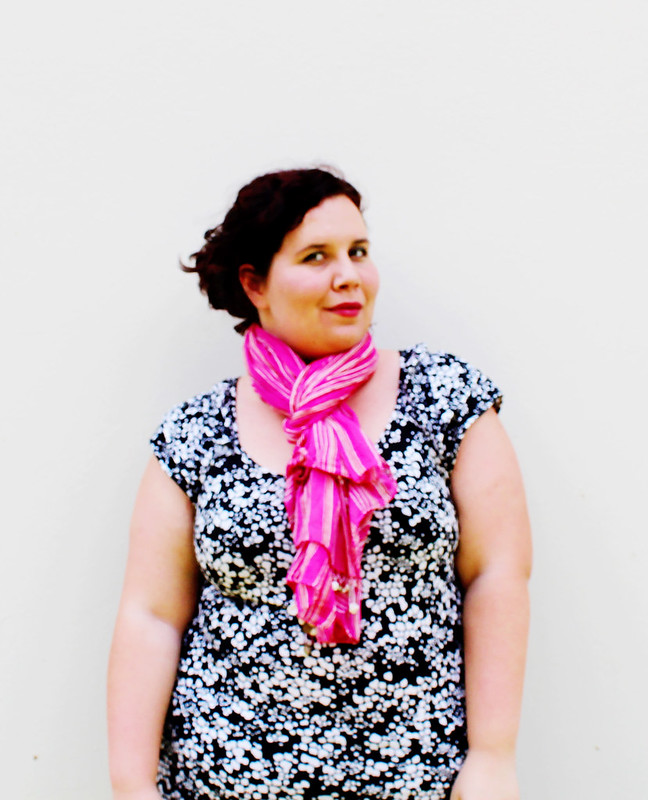
My Favourite:
Whether the weather is wintery or summery this is my usual go too, the perfect casual but oh so smart way to a scarf.
Steps:
- Fold the scarf (Longer the better the drape of the fall) in half.
- Loop the half around your neck so the loop is on one side and the ends on the other side.
- Push the ends through the loop and pull tight.
The Summer Sunner:
Pretty over a basic top or dress, this one is a pure statement.
Steps:
- Fold a giant triangle, out of your widest scarf.
- Putting the triangle over a shoulder, carefully pull the ends tight so that it hangs around your neck.
- Tie into a simple knot and voila.
- If your scarf is superheavy, you can use a fun broach just to secure it onto your clothes.
I used rather bright scarfs as they are the easiest to see what I was doing on a photograph. you honestly don't have to go buy bright scarves, these look just as wonderful with more neutral scarves.